

How to build your curriculum: modules & lessons
Build and organise your curriculum: add modules and lessons in bursts, drag anything into order, and duplicate, publish or delete from each row's menu.

 By Knola4 min read
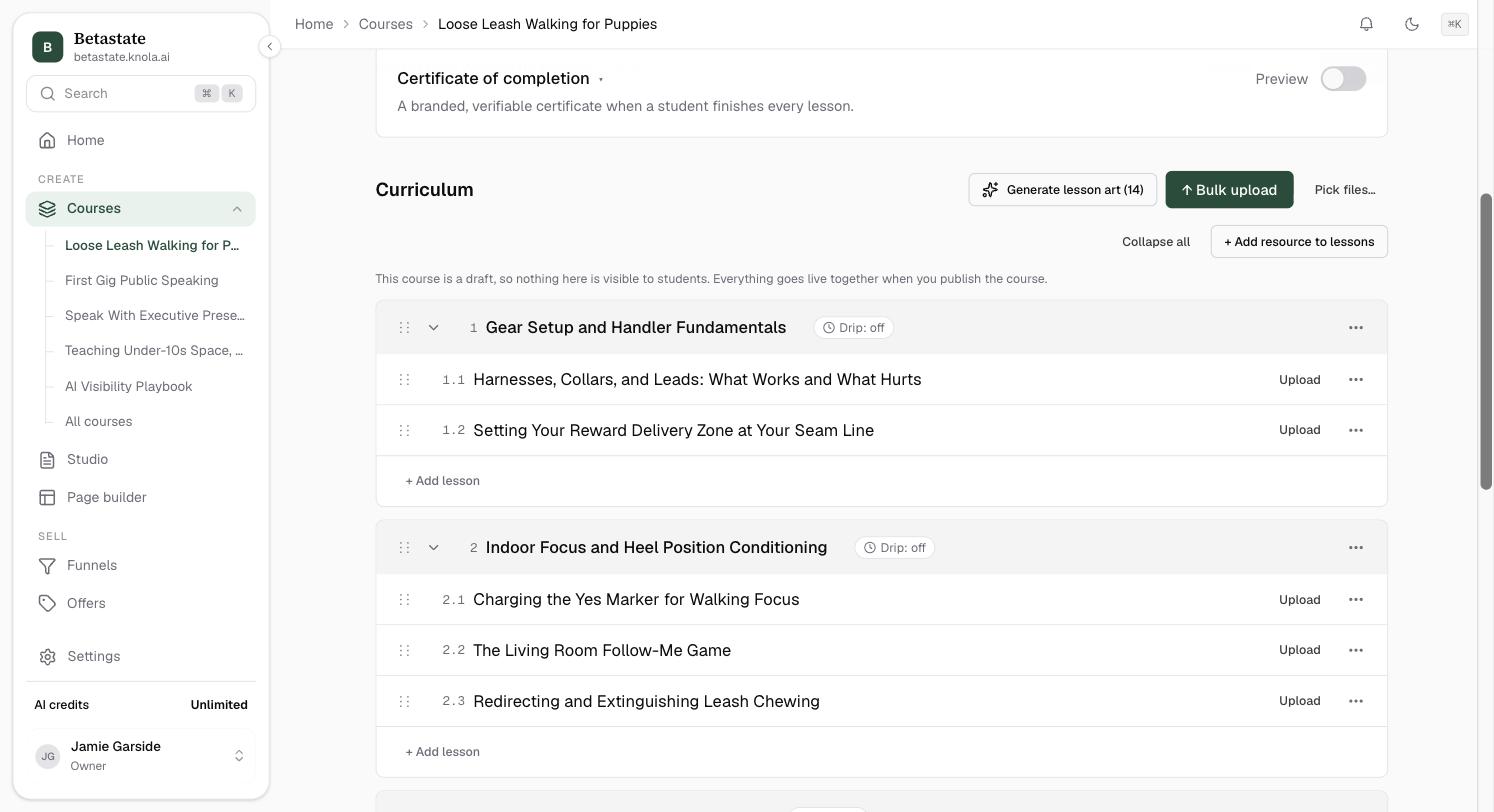
The Curriculum section of a course page is the working surface: modules group your lessons into sections, and every structural change (adding, renaming, reordering, duplicating) happens right in the list, without a single pop-up form. Its header also holds bulk upload and lesson art.
Add modules
On an empty course, click Add module; after that, + Add module sits under the list. Both open an inline field: "Module title — Enter to add, Esc to finish". Enter creates the module and keeps the field open, so you can type your whole outline in one burst; Esc closes it.
Add lessons to a module
Click + Add lesson at the bottom of any module. Same pattern: "Lesson title — Enter to add, Esc to finish", with Enter creating lesson after lesson. Clicking a lesson's title opens it in the lesson editor; the pencil that appears on hover renames it in place instead.
Reorder by dragging
Every module and lesson row has a ⋮⋮ drag handle on its left. Drag a module and the whole outline compacts so the full course fits in view while you place it. Drag a lesson anywhere: within its module, or straight into another module; a gap opens where it will land, and the numbering updates on drop.
Duplicate, publish or delete from the ⋯ menu
Each module and lesson row ends in a ⋯ menu:
- Publish module / Unpublish module and Publish lesson / Unpublish lesson: an unpublished item shows a Draft chip and is hidden from students (for a module, its lessons included).
- Duplicate module / Duplicate lesson: copies everything except uploaded videos, which stay with the original.
- Delete module / Delete lesson: confirmed first; deleting a module removes all of its lessons, and deleting a lesson removes its video and transcript. Neither can be undone.

Know what students can see
The line above the tree tells you the current rule. On a draft course, nothing is visible to students. Everything goes live together when you publish the course. On a live course, new modules and lessons are added as drafts and go live when you publish them, so adding a row never accidentally ships an empty lesson.
Can I move a lesson to a different module?
Yes. Drag it by its ⋮⋮ handle straight into the other module. Its position and numbering update the moment you drop it.
What gets copied when I duplicate a module or lesson?
Everything except uploaded videos: titles, content, documents and structure are all copied.
Why does my new lesson say Draft on a published course?
On a live course, new modules and lessons arrive as drafts so students never see half-built content. Publish them from the row's ⋯ menu when they're ready.